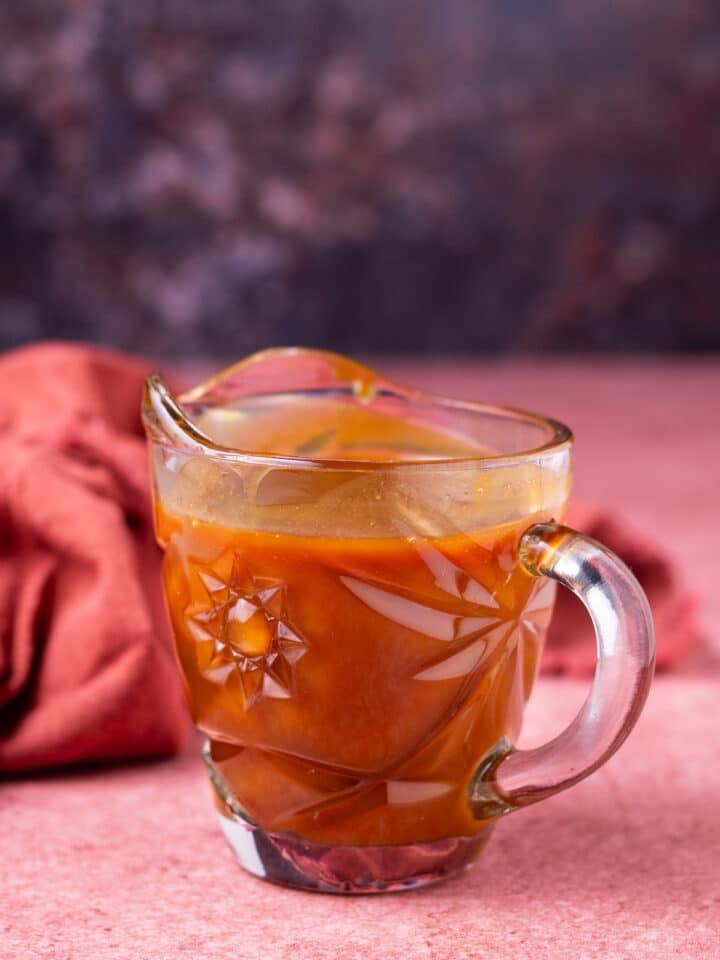
Homemade Salted Caramel Syrup
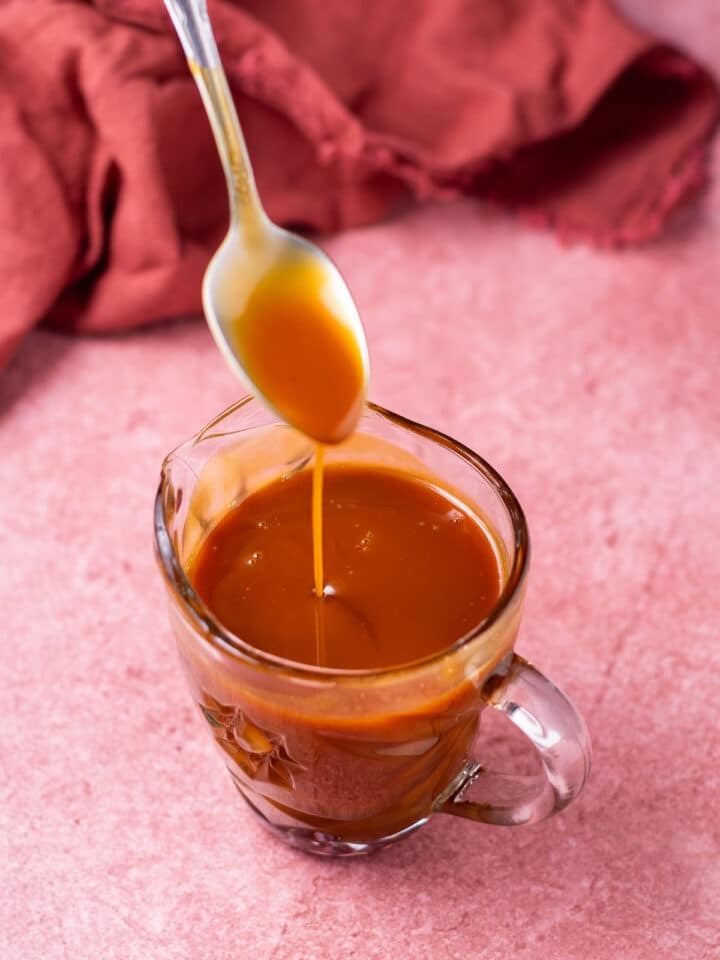
Salted caramel syrup is perfectly sweet, a bit salty, creamy, smooth and an irresistible drizzle for coffee, ice cream, fresh fruit, pancakes and beyond.
Erica’s Notes:
Picture this: it’s 2:30pm. You’re feeling the afternoon drag. You desperately want to hit up the coffee shop for a hit of caffeine. But you also don’t want to spend $7 on a coffee. I got you. I have an answer for us.
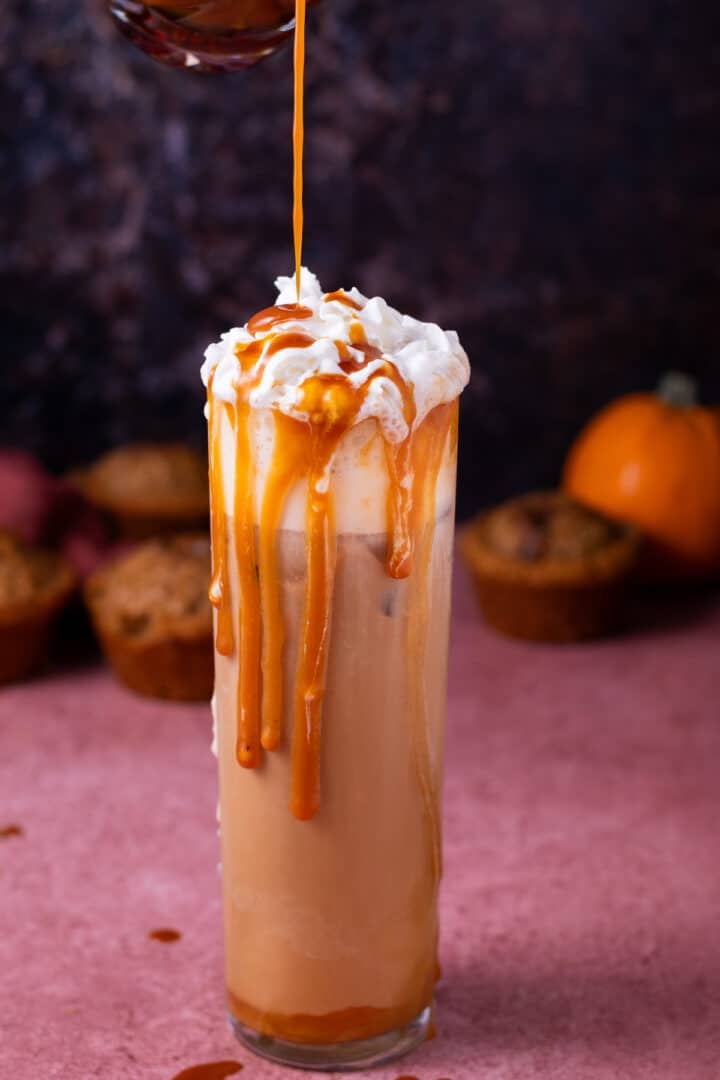
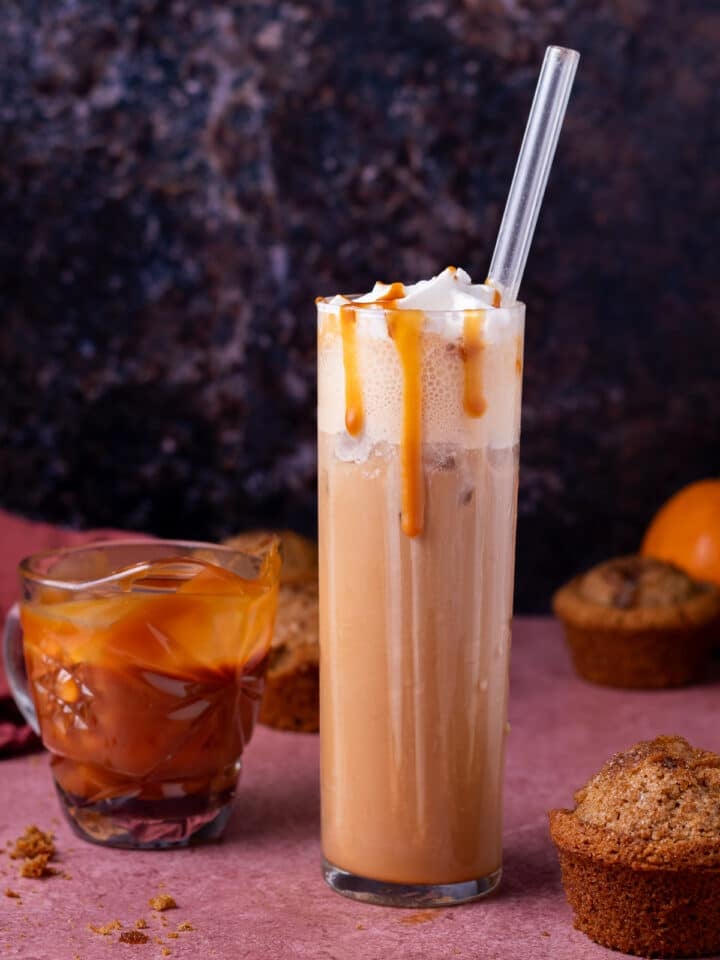
Homemade salted caramel syrup. If you’ve followed me for any length of time then you might know how much I adore caramel sauce. I almost always have a batch prepped and in the fridge. My go-to morning coffee has a swish of salted caramel syrup and splash of frothed oat milk and I love apple ‘nachos’ drizzled with caramel and peanut butter for a snack or sweet treat. And while I love it in hot drinks, an iced salted caramel latte is one of my favorite beverages for the afternoon slump! Not to mention, far less expensive.
It may seem daunting to make your own salted caramel syrup. And I will admit, that sometimes caramel can be a fickle biotch- BUT… follow my recipe to a T, keep a close eye out, read through the expert tips before starting and you’ll nail it I promise. 👊🏼
What You Will Need to Make Homemade Caramel Syrup:
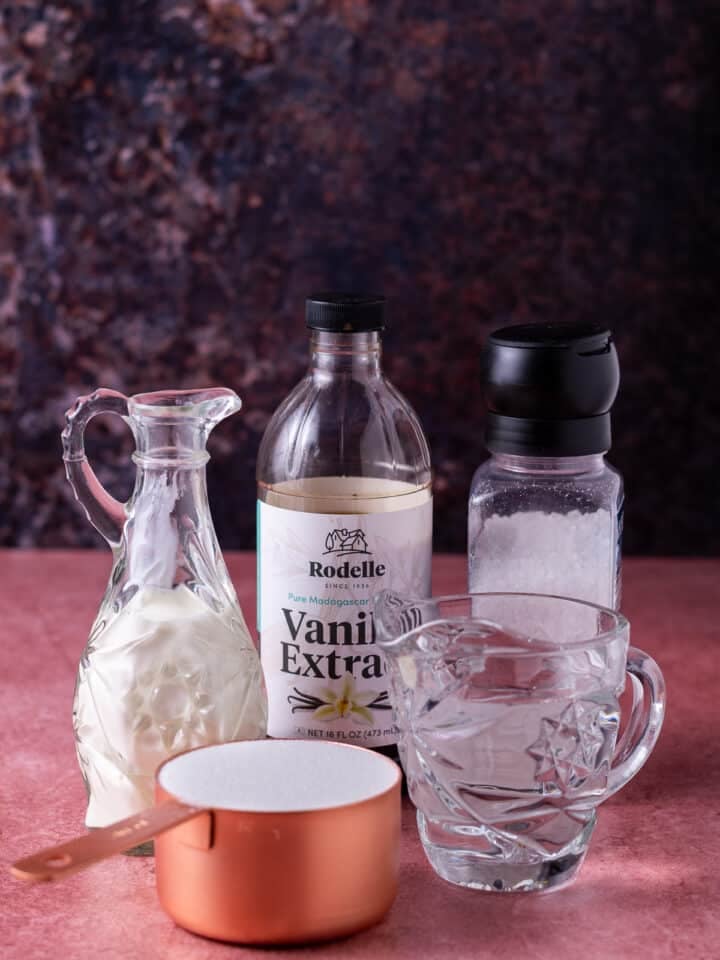
Sugar: I recommend regular cane sugar for best results!
Water: water helps the sugar dissolve initially and adding it at the end creates a thinner texture.
Heavy cream: cream turns this syrup into a rich buttery caramel that is INCREDIBLE. However, if you prefer a more translucent, thin syrup (like Torani or similar) you can omit the heavy cream.
Salt: that touch of saltiness is everything! The balance of sweet and salty is so addicting. I like fine sea salt or kosher salt.
Vanilla extract: this adds a little something extra to complement the caramel flavor!
How to Make Salted Caramel Syrup:
Combine the sugar and ¼ cup water over medium heat in a large, heavy-bottomed saucepan and stir to combine. This is the ONLY time you will stir until it is time to whisk in the additional water and heavy cream.
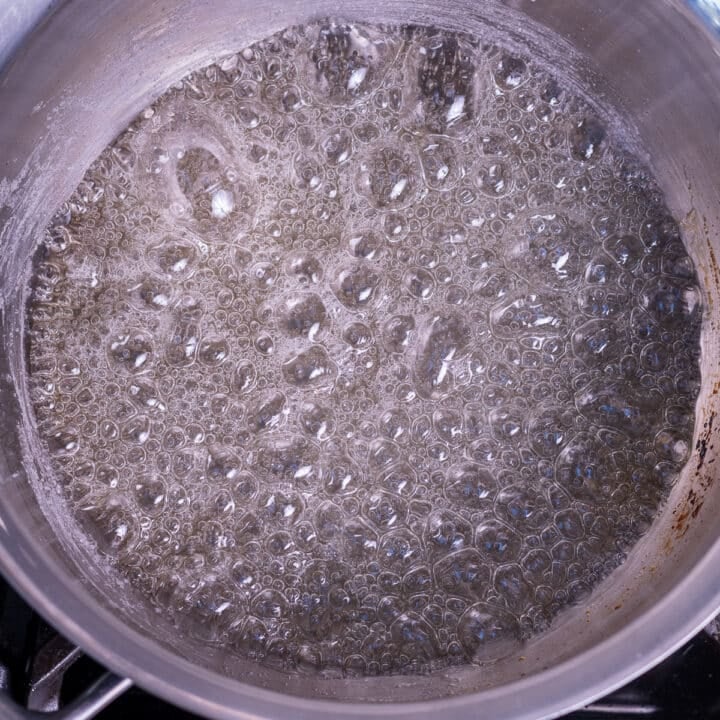
Next, we wait for the sugar to burn. That’s what caramel is! Burnt sugar. It’s going to start to boil. There might be sugar crystals that accumulate on the sides of the pan. Take a pastry brush, dip it in water and gently dab the sugar crystals so they dissolve back into the boiling sugar. If the sugar crystals build up it will cause the caramel to seize.
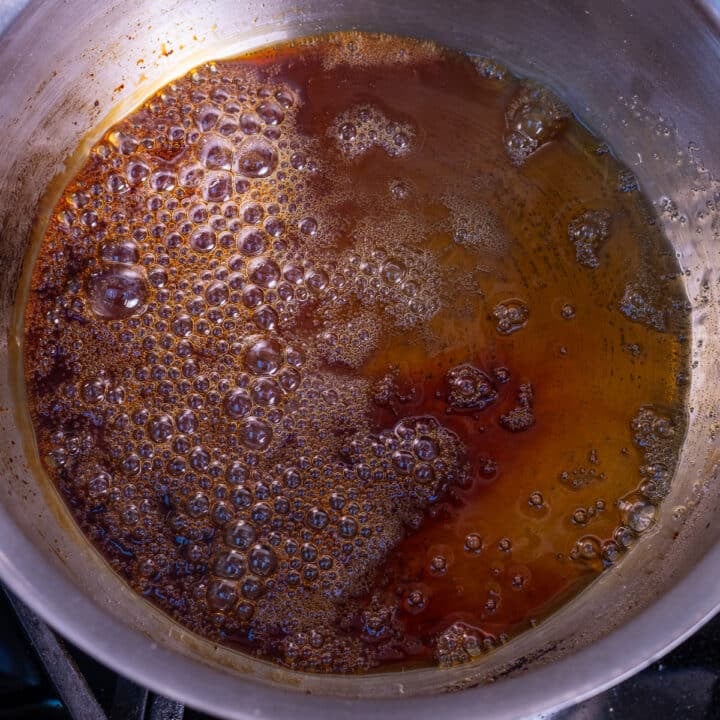
Boil the sugar until it is a deep caramel color. Be patient you do NOT want to pull it at the first trace of color. If you pull it too soon it won’t have caramel flavor but if you let it go too long it will taste burnt. It will likely take anywhere from 10-15 minutes, watch closely!
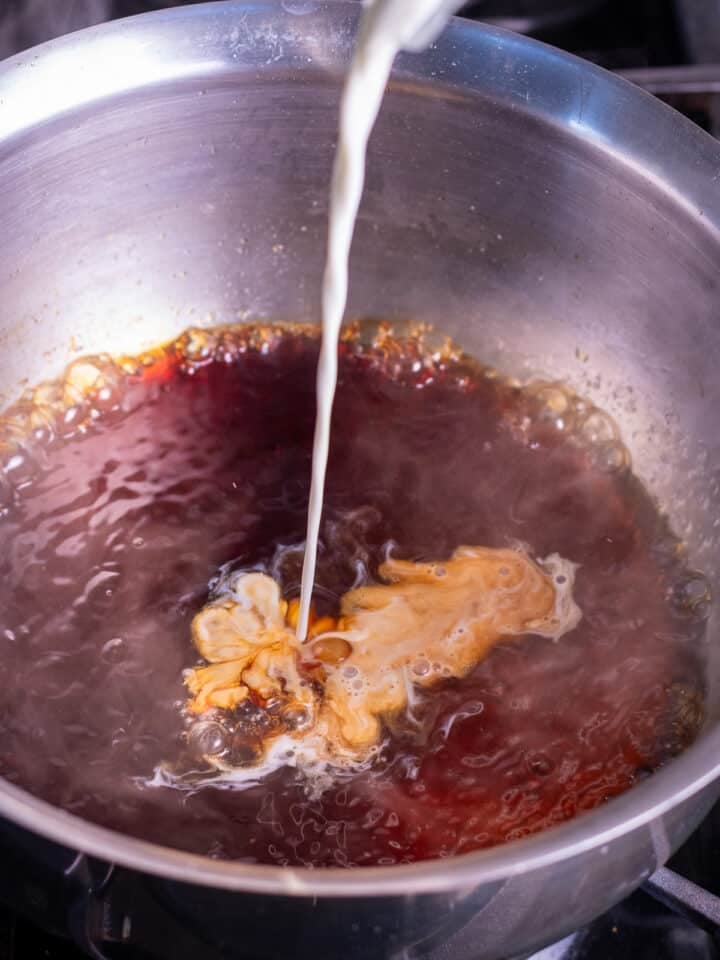
Warm the remaining water and cream by popping each in the microwave for 30-45 seconds. This step is optional but will help reduce splatter/sizzling/seizing when you add it to the sugar mixture.
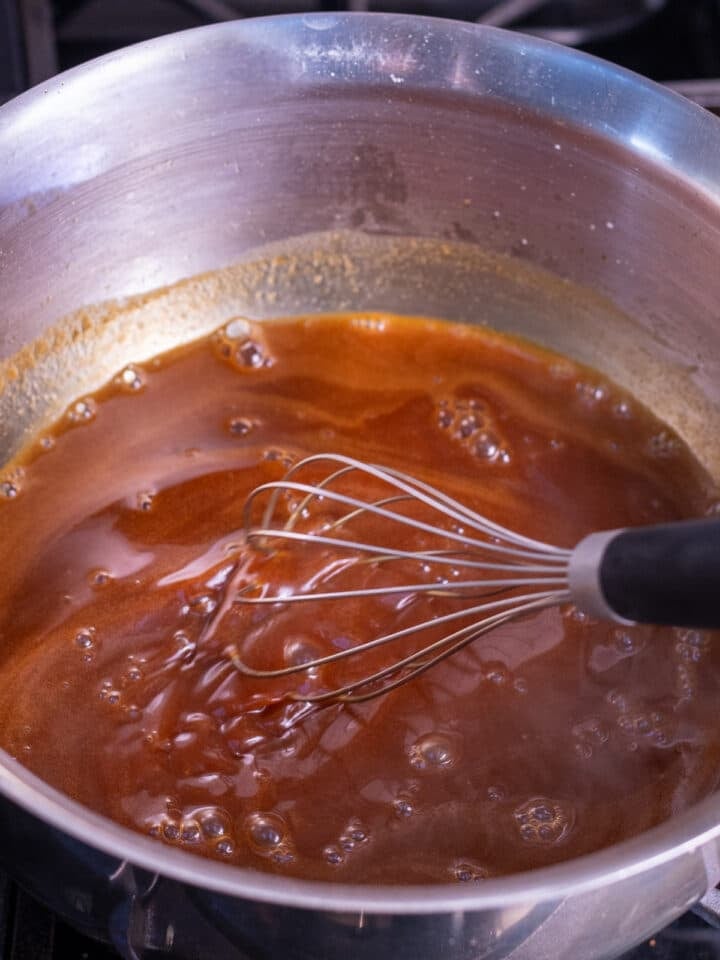
Once the sugar has reached a deep amber, turn off the heat and add the warm water, whisking constantly. Add the cream and continue whisking. It’s going to steam furiously, be careful not to burn yourself. Stir in the vanilla and salt. If you have a few sugar clumps that’s ok, just turn the heat back to low and stir them until dissolved. Taste and add another pinch of sea salt, if desired.
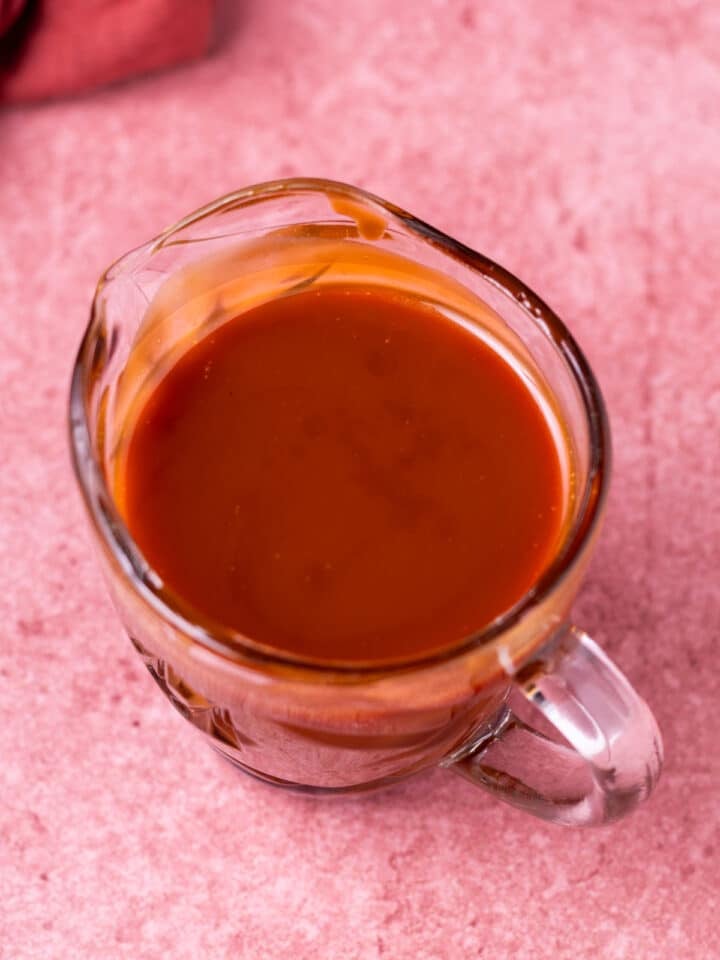
Pour into a mason jar or syrup carafe and BOOM. Decadent, amazing, homemade salted caramel syrup that is better than anything you’ll get in the store!
Expert tips:
- Be patient: the sugar will take a while to caramelize, so be patient and do not pull the sugar off the heat at the first hint of color. You want it to be a deep amber color.
- Uneven cooking: If your stovetop has a ‘hot spot’ and one side of the sugar is browning more quickly than the other, simply rotate your pan to even things out.
- Thinner consistency: If you are seeking a thin syrup consistency, similar to the coffee syrups typically found in latte stands, omit the heavy cream. The cream makes it luxurious, richer and thicker (my preference) but if that’s not your vibe, leave it out.
- Sugar type: I recommend pure cane sugar- but you can also use brown sugar. I have not tested this recipe with coconut sugar or artificial sweeteners like Splenda or Erythritol so I cannot speak to if they will work.
Ways to Serve Salted Caramel Syrup:
- Any and all coffee drinks- hot or iced latte, mocha, americano, cold brew coffee, etc.
- Swirled into hot chocolate
- Stirred into apple cider to make caramel apple cider ermegerrrd
- Blended into a salted caramel milkshake
- As a simple syrup to make cocktails like a White Russian or Espresso Martini
- Spooned over ice cream
- Ladled (yes ladled, trust me) on apple pies or apple crisp
- Drizzled over pear or apple slices
- As a beautifully flavorful addition to cookies, brownies, waffles, pancakes or popcorn!
I could go on and on. But I won’t.
FAQs
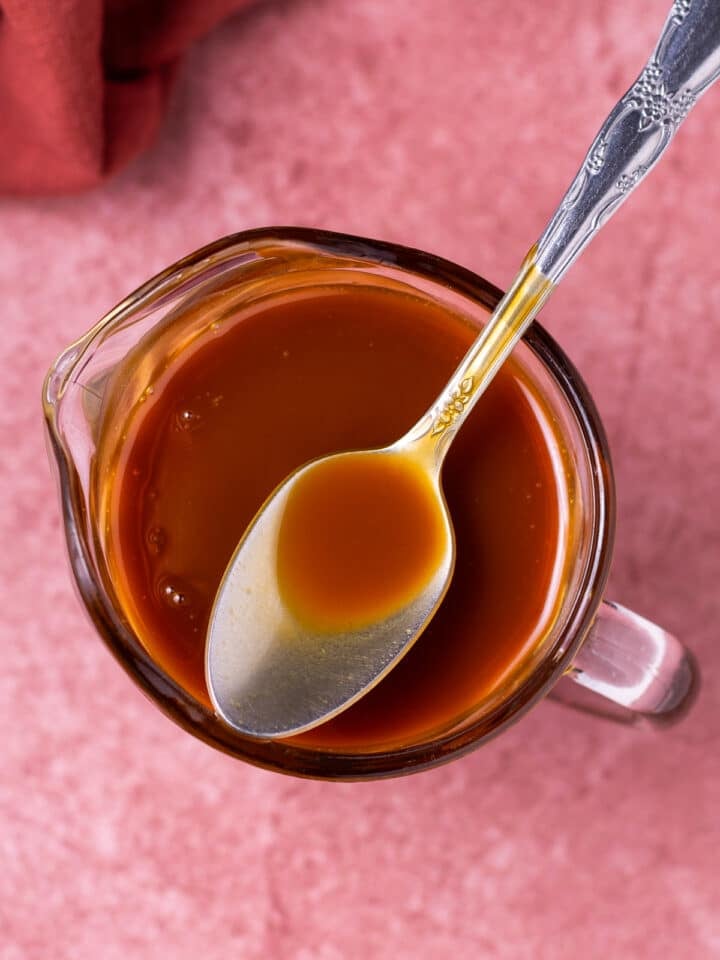
Yes, it thickens as it cools and is almost a salted caramel sauce that you can drizzle over ice cream, pancakes, apple crisp, etc. If you want a thin consistency, omit the heavy cream.
Store in a mason jar or airtight container in the fridge for up to 3 weeks. You can freeze in an airtight container or Ziploc bag for up to 3 months. Thaw in the fridge overnight.
I have never made or tested this recipe with a sugar-free alternative but from my reading and research it sounds like people have had success using allulose or erythritol-based sweeteners like Swerve or Splenda. Stevia and monkfruit sweeteners are unlikely to caramelize.
Dip a pastry brush in water and gently brush the sides of the pan, dissolving the sugar crystals back into the mixture. Keep the heat on medium the entire time, do not rush things by cranking the heat.
I usually just pop it in the microwave for 15-20 seconds! Storing it in a microwave-safe container (like a jar or glass bottle) makes it super easy to reheat whenever.
You can omit the heavy cream or use a dairy-free alternative like coconut cream or full-fat coconut milk.
Have a sweet tooth? Check out some of my other treats!
If you try and like this recipe please don’t forget to leave a comment and star rating down below! If you love more lifestyle, behind the scenes and ‘eating in real life’ type of content come find me over on Instagram, TikTok, Facebook, or Youtube – I love connecting with you all there!
Print
Homemade Salted Caramel Syrup
- Prep Time: 5 minutes
- Cook Time: 10-15 minutes
- Total Time: 15 minutes
- Yield: 1 1/4 cups syrup 1x
- Category: Dessert
- Method: Stovetop
- Cuisine: American
- Diet: Gluten Free
Description
Perfectly salty sweet, you’ll want to drizzle this salted caramel syrup on anything and everything.
Ingredients
- 1 cup sugar
- 1/4 cup + 3/4 cup water
- 1/2 cup heavy cream
- 3/4 teaspoon fine sea salt
- 1/2 teaspoon vanilla extract
Instructions
- Combine the sugar and ¼ cup water over medium heat in a large, heavy bottomed sauce pan and stir to combine. This is the ONLY time you will stir until it is time to whisk in the additional water and heavy cream.
- Next, we wait for the sugar to burn. That’s what caramel is! Burnt sugar. It’s going to start to boil. There might be sugar crystals that accumulate on the sides of the pan. Take a pastry brush, dip it in water and gently dab the sugar crystals so they dissolve back into the boiling sugar. If the sugar crystals build up it will cause the caramel to seize.
- Boil the sugar until it is a deep golden brown color. Be patient you do NOT want to pull it at the first trace of color. If you pull it too soon it won’t have caramel flavor but if you let it go too long it will taste burnt. I set my stopwatch as soon as my sugar started boiling and it took exactly 12 minutes and 40 seconds. It will likely take anywhere from 10-15 minutes, watch closely!
- Warm the additional ¾ cup of water and ½ cup cream by popping each in the microwave for 30-45 seconds. This step is optional but will help reduce splatter/sizzling/seizing when you add it to the sugar mixture.
- Once the sugar has reached a deep amber, turn off the heat and add the warm water, whisking constantly. Add the cream and continue whisking. It’s going to steam like crazy, try not to burn your hand off. Stir in the vanilla and salt. If you have a few sugar clumps that’s ok, just turn the heat back to low and stir them until dissolved. Taste and add another pinch of salt if desired.
- Pour into a mason jar or syrup carafe and BOOM. Decadent, amazing, homemade salted caramel syrup that is better than anything you’ll get in the store! The syrup will be thin when warm or at room temperature and thicken a bit in the fridge. Serve in coffee drinks, hot chocolate, apple cider, milkshakes, cocktail or drizzle on ice cream, brownies, popcorn or pancakes! The options are limitless.
Notes
Refer to above blog post for answers to frequently asked questions, expert tips, ingredient information and more!
Would you like to save this?
Nutrition
- Serving Size: 1 tablespoon
- Calories: 49
- Sugar: 10.1 g
- Sodium: 88.1 mg
- Fat: 1.1 g
- Carbohydrates: 10.1 g
- Fiber: 0 g
- Protein: 0.1 g
- Cholesterol: 3.4 mg


The flavor is fantastic! My problem is that it always turns out to be too thin. Should I add less water than the recipe calls for? Or maybe burn the sugar a little more?
Yes, I’d recommend omitting the water added after the sugar burning process. Also, I will say that this is a recipe for syrup, not sauce. Caramel sauce will be thicker, like what you’d expect for an ice cream sundae. This is more like a syrup for coffees and such, it should have the consistency of maple syrup. If you do want it thicker omit the water and add a few tablespoons of butter- this makes caramel sauce!
This caramel sauce is absolutely amazing! So delicious, and so easy. I appreciate the simple instructions!!!!
shelf life?
Hi Matthew, it’s good stored in an airtight container or jar in the fridge for 3-4 weeks!
Hi! I’m thinking about making this this weekend for the first time. On insta, you use butter but here you do not. Are these different recipes?
Yes, they are. So this is a salted caramel syrup, like for coffees and such. The one with butter is more like a salted caramel sauce. (a lot thicker, like for dunking apples).